Sunday, January 24, 2010

The Power Windows

The new power window motor and hardware is now installed in the passenger side door of the truck.. Dad rigged the slide to go up and down with a few wires, an alligator clip, or two, and the truck battery, since the switches with power won't be hooked up until we're closer to finishing the truck..

We made a cardboard cutout for the installation so we wouldn't scratch the glass.. seemed to work pretty well!

Laying out the new power window motor and rail.

Hooking up power to the motor to make sure everything works as expected.


Time to test it out! Watch the video above to see how it went!


It worked!!! Thats one happy Dad!

Now that this door is ready, its time to start on the next one!

Friday, January 22, 2010

Inner Fenders & Prep for Engine and Fuel System

Dad never ceases to impress me with his dedication to the project.. I came home from work on Monday and Dad had the first fender cut to fit around the suspension and control arms and installed in the truck.. The next day he had the second inner fender finished and in place..

With the inner fenders installed, now we can start thinking about how the fuel lines will run to the engine as well as what engine components will work with the space we have (ie: alternator, water pump, AC compressor, belts, fan, radiator, etc)


Engine compartment with inner fenders installed..


There's about 12" of space from the engine to the radiator support brace. Hopefully that's enough clearance for the radiator, fan, and engine components..

Side view of the engine and how much clearance we have..

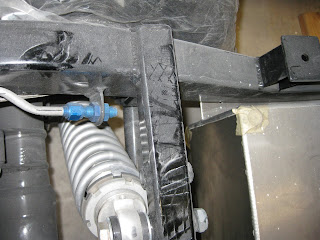
This is where we'll tie in the fuel line in the engine compartment.

The fitting has been removed to get a close up in the next picture.

6AN connector for a 3/8" line

This is where we'll tie in the new fuel line by the tank

Here is the bracket where we'll mount the fuel pump and filter