Wednesday, December 29, 2010

The bed is almost finished!

Joe and Eric have been working hard the past few days on the bed. They've been block sanding the bed (by hand!) to make sure all of the high and low spots are fixed and that all the edges and inner corners are smooth and uniform. Joe said he wished he had a square sander.. I can see why! There ARE a lot of edges on this bed!


Like I said, they've been doing a lot of sanding lately, so please no karate kid jokes while visiting the shop this week.. Because they don't like the Karate Kid movies. Especially the new one.

Ok so I can't resist..


Here is Joe's version of Wax on Wax off...

Joe: "Bondo on, sand off Eric-san. Bondo on, right hand. Sand off, left hand. Bondo on, sand off! Breathe in through nose, out the mouth, don't inhale sanding dust. Bondo on, sand off. Don't forget to breathe, very important."

Eric: "Dad... Stop."

LOL!! Ok, I'm done. heh heh.. Sorry guys. Seriously though, thanks to everyone at Horvath Hot Rods for helping my Dad and I on Thunderpig this past year. This has been an amazing (and expensive) experience for my entire family. And we've loved every moment. :-)

Saturday, December 25, 2010

Merry Christmas!

On Christmas Eve Joe sent us this picture! We have chrome on the truck!!!


Happy Holidays and stay tuned for more pictures as we finish up the truck over the next month or so! 2011 is going to be the year of the "Thunderpig"!

Wednesday, December 22, 2010

Pedal to the Metal!

The new Lokar pedals are now installed and let me tell you.. I can't wait to test out the skinny pedal! :)

There is also a new power source and two emergency power shutoff switches for the fuel and fans that will be hidden in the ash tray (previously known as the gum wrapper cemetery). Pretty cool huh!

Sunday, December 19, 2010

Bed progress

Here are a few pictures of the progress being made on the bed..

Here you can see the drivers side bed walls are pretty much finished, however the passenger side still has some work to do. You may notice a weld line going down the center of the inner wheel tub. It turns out that the inner wheel tub was actually smaller by about an inch which was causing the entire bed side to be out of alignment. After Joe and his crew took more measurements and made a few cuts and welds, we were back in business.

This is the outside of the bed wall. You can see the weld line on the inner tub as well as a few cuts and spots where Joe has been shrinking and banging on the metal to straighten it out.

After all of the metal has been straightened as much as possible, a layer of bondo is applied to the bed side to fill in any high and low spots.

After it dries, more sanding is done, and additional bondo is added again.. This is generally the process.. Add bondo and filler, sand it off, look for imperfections, then go at it again. Its definitely an art.

Here's what the inside of the passenger side looks like after its been sanded and bondo applied.

More bondo is applied to the inside of the inner wheel tub which needs to be hand sanded as Joe doesn't have a sander that can handle these kind of angles.

Here is the inner wheel tub on the drivers side.. Its getting closer. Primer was sprayed on the tub to help find trouble spots then more sanding will be done on it.

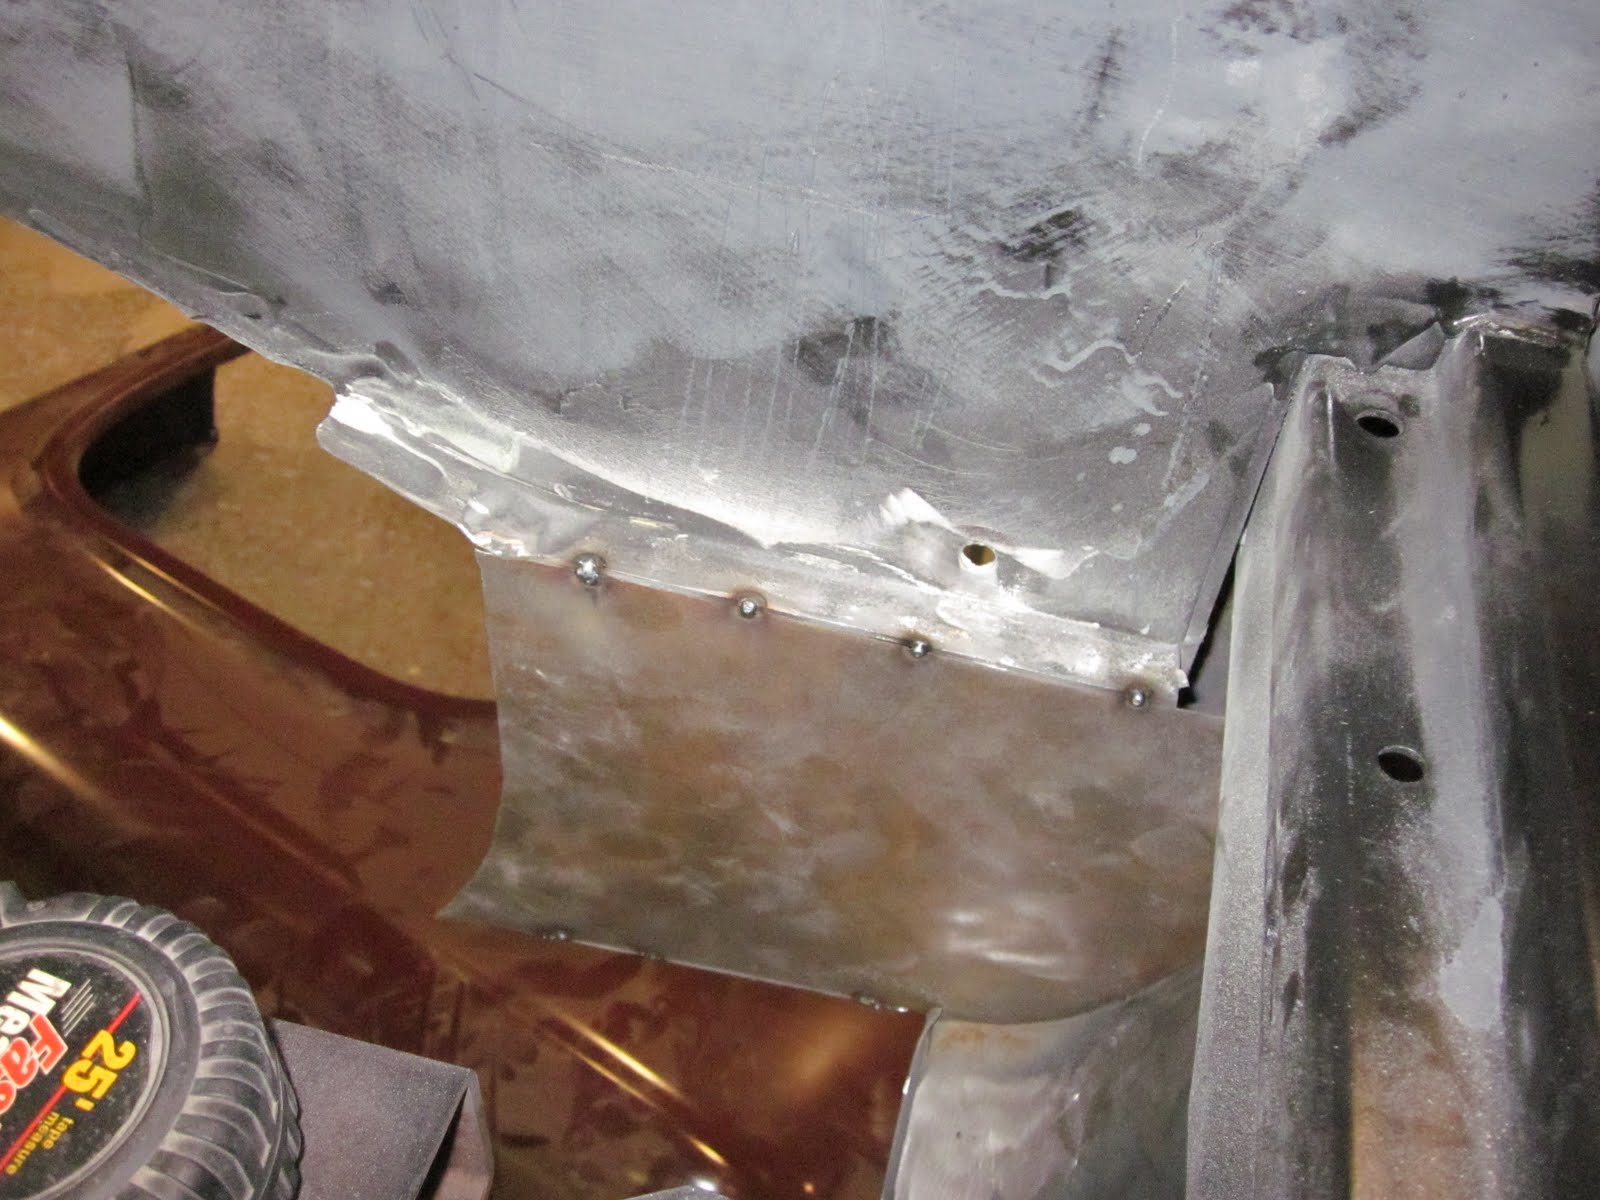
To add a little more reinforcement and to help finish off the inside of the stepside, a metal plate was added to each inside of the step.

Here you can see both plates have been added to the step. Because we're planning on making the bed wood tilt up so you can see the frame under it we need to finish off areas of the bed that were never intended to be seen.

Another example of an area of the bed that looks unfinished is the rear of the bed below the tail gate.

After tacking on a piece of metal over the unfinished portion of the bed you can see it looks a lot nicer.

Here is the other side of the bed. Notice a bolt hole was added already on this one.. This is where the outside fender attaches to the bed.

Thursday, December 9, 2010

More fun under the hood!

The condenser has been installed and painted silver to match the radiator. Also the lines are now run.

Billet Specialties wire loom has been installed, to keep those nice spark plug wires from melting onto the headers..

Power steering reservoir installed on the drivers side inner fender.

AC overflow has also been installed and stainless lines as well.

Here's another shot of the overflow tank as well as a new stainless line to the radiator.

Sunday, December 5, 2010

Happy Birthday Dad!

This year Jen and I gave Dad a little gift to take him down memory lane.. We had a puzzle made for him from a picture of the truck taken in May 2008 before we started the restoration process. Once we're finished re-building the truck we'll take another picture of it in the same location..

:-)

Saturday, December 4, 2010

Thunderpig loves to ride the lift

Could you imagine having to crawl around underneath this truck every day running wires, installing components, making things fit just right? Well thats a reality most people endure on projects like this.. Well not us! No sir. At Joe's shop, we're seriously spoiled!

Here's Thunderpig taking another ride up on the lift today.. weeeee!!!

Now that the trucks at eye level.. Maybe we should paint that rear differential.. no problem..

What about installing that new transmission pan? No sweat! ;-)

Whats that? More wiring harnesses and relays to install under the cab? Piece of cake.

New stainless steel lines to connect? Lets git-r-done! heh heh..

Thanks for the lift Joe! :)

Tuesday, November 30, 2010

Final Clear coat - Shiny!

The truck went in for its final clear coat today! Check out the pictures below! Now all Thunderpig needs is some buffing.. then we can start putting the chrome on! :)


In this picture you can see a bit of red overspray on the paper in the window.. This is to fill in a few chips that occurred during the assembly process.. Now she's good as new!


I love how in different light the truck looks deep red and in other shots it has more of a metallic sheen to it. Awesome.


Next to be painted is the rear fenders and bed! Hopefully we'll have Thunderpig fully painted by Christmas!

Saturday, November 20, 2010

Mechanix Worx!

A lot of work has been going on under the truck the past few weeks..

All thats left in terms of body work is the bed and we're hoping to have that finished by next week!
The steering shaft has now been hooked up, so we can steer the truck with a steering wheel!

Zach loves hanging out with Joe and Donna's dogs.. Here he is with Phillis..

The exhaust is gonna look pretty sweet.. We're having it come out of the step of the truck.

The engine is coming together well.. Here's a shot of the engine with the new stainless radiator hoses.

Under the truck.. Look ma! No exhaust or driveline! :)

Zach and Dustin checking out the wiring under the chassis.. Cheeeze!

Joe and Eric polished the driveline, and boy does it shine!

The transmission cooler is mounted under the cab beneath the step.

Brake cable bracket installed under the cab.

Horns installed in the fender above the headlight opening.

Check out the new transmission pan! That sucker shines! And it has a drain plug. The other one didn't so this is nice.

This is the original hood emblem. Its been re-coated with new chrome and now looks like new again!