Saturday, October 9, 2010

Bow Tie Front to Back!

The truck looks great.. But I have to say.. its missing something.. oh yeah!!! The hood emblem! I've went back and forth on what to do with the original hood emblem.. Its pretty pitted from over 50 years of road debris and storage.. So I put it on just to see what it would look like with the new paint job.. and you know what.. it still looks awesome.

Here's the hood without the hood emblem. It looks good, but the hood emblem really sets it off.

I'm going to have Joe send the hood emblem off to a shop in Colorado to have it refinished.

The dash is set in place and the RPM gauge will set nicely next to it.
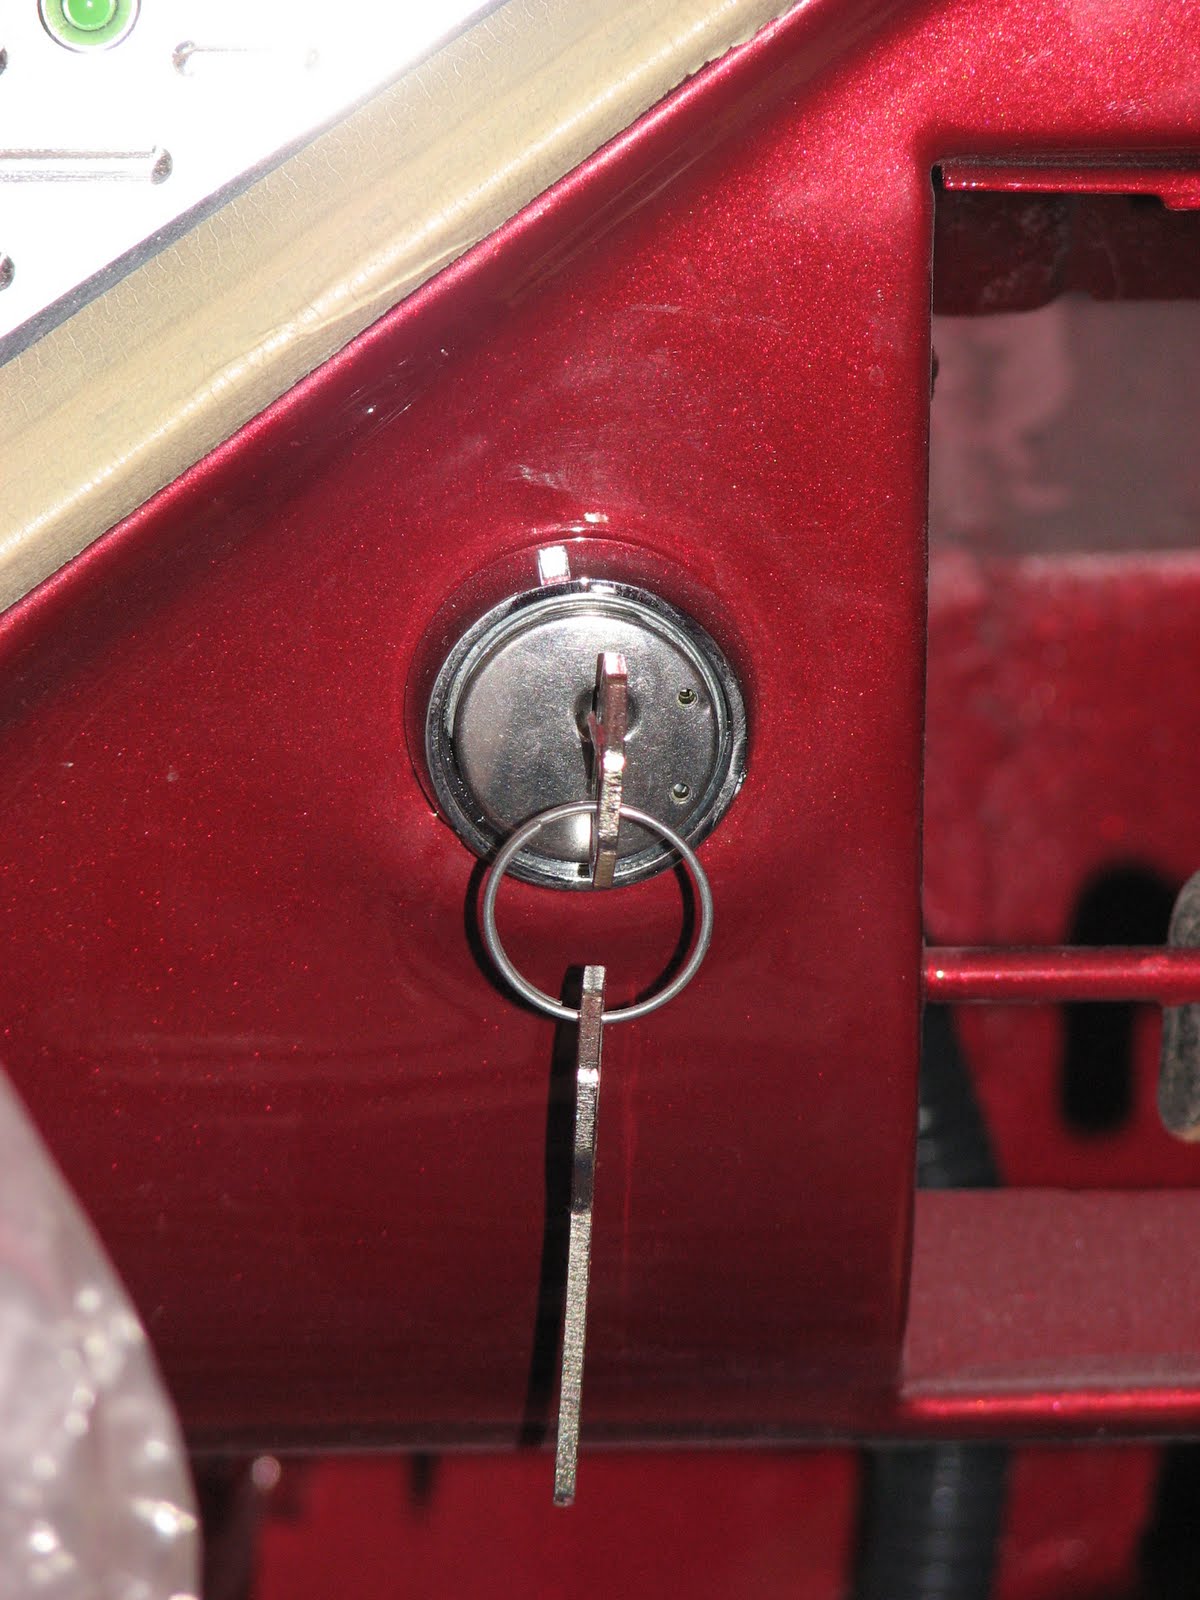
New key switch from a Nova to replace the old switch.. The original was really warn out.

The truck is gonna really turn a few heads by the time we're finished with it!

I love how the back end of the truck is turning out. The bow tie tailgate and role pan looks great.

The extra styling of the bed corners are really coming together well!

Thursday, October 7, 2010

Are we done sanding yet?

This week, Dad has been at the shop helping out on the bed of the truck. It's to the point where all of the metal work is finished.. So that leaves lots and lots of sanding to do! If all goes as planned, the bed should be ready for primer by this weekend! Then Joe will make sure it sets on the chassis the way we want it to, and will start building the frame for the bedwood to mount to.. Thats gonna be cool.. Wait till you see what we're going to do!


Here's what the Bed looks like at the moment.. lots of bondo! I always have a hard time imagining how the truck will look when its in this state.. We need to paint this thing! :)

Dad sanding the passenger side fender. Considering how much modification these fenders have went through, they look really good!

The bed sides and inner fenders look great.. Probably one more day and the sanding should be finished! Then its time for paint!
And speaking of paint, how about a few more pictures of those ghost flames! ;-)

This is a great shot of the passenger side door.. you can barely see the flames, but they're there! When the sun hits them just right, you won't be able to miss them!

The front fenders and hood really look great. I believe there is going to be one more clear coat that will go on the truck then this part of the paint job will be finished!

Saturday, October 2, 2010

Red hot flames!

Thought I would share a few pictures my Dad and Joe have taken of the flames on the truck.. Its hard to get a good picture since these are ghost flames and they're meant to blend in with the truck.. but here are a few of my favorites!

Check it out! The flames look great.. you can even see my Dad's reflection on the paint!

This is a side shot of the front drivers side fender.. Pretty awesome how the flames turned out.

This is a shot of the drivers side hood edge.. This truck really looks great with the new flames on it!

This picture shows how curvy Thunderpig is.. with its new paint job it really looks amazing.

Here's a shot of the front of the truck where the flames begin.

Saturday, September 25, 2010

Getting the truck ready for flames!!

This week is really exciting for us.. We're getting our ghost flames!!!

First the truck exterior was re-sanded with 1000 grit paper, then it was sprayed with basecoat adhesion promoter and another coat of candy color (applied over the entire cab) to ensure even color from panel to panel. The previous paint was done in pieces.


Now for the exciting part! We showed up at the shop just in time to see Eric layout the first layer of flames (2 more layers will be overlayed giving the flames more dimension). After Eric has all of the flames outlined, they'll tape off everything except for the flames, then paint the flames, then layout and paint the next two layers so that the flames will appear to overlap eachother. After the flames are finished, the entire cab will be clearcoated, sanded and re-clearcoated. This will eliminate the ridges between the flames and the rest of the paint. Quite the process huh!


We really liked being able to watch Eric lay out the flames.. Each time someone would come into the paint booth, they'd ask me.. Are you taking pictures? So I'd snap a few more!

Keep checking back for updates, I'll post new pictures throughout the week as the work progresses. I hope to get pictures after each layer of flames is applied.

Sunday, September 12, 2010

Bed Rock'n

Joe surprised us yesterday with a few modifications he made to the rear of the bed to tie in the frame to the roll pan bumper.. I think it looks pretty cool, what do you think?

See how the bed post wraps all the way down to the roll pan?

Originally the bed post just ended (as you can see from this picture taken in April).. Now it looks more finished!

Here's a close up of the bed post with the custom metal work done by Joe.. Pretty cool styling!

Originally the inside of the tailgate edge ended right above the bumper. With the roll pan in place Joe thought it looked unfinished the way it ended. So he added the fin which extends to the bottom of the roll pan and I love it.

Now that the passenger side is finished.. next up is the drivers side! Can't wait to see it! Also, if you look closely you'll notice the passenger fender is lower than the drivers side fender.. Joe had to drop it down further so that it aligns better with the roll pan. The other fender will need to be modified the same way.

Here is a side shot which shows the fender rework and the extension of the bed post.

Joe also finished welding in the tear drop caps on the bed rails that Dad cut out a few weeks ago. Once the edges are cleaned up they're gonna look killer.

Saturday, September 4, 2010

Laying down some flames!

We went to the shop today to check out the progress on the bed and to watch Eric and Joe lay out and paint a few test panels for us..


These are the door panels for the truck. The panels will eventually be covered by leather apholstery so they work perfect as test panels since they already have the base paint color on them.

First Joe free hands a flame pattern on each panel...

Then he tapes around the flames so that only the inside will be painted..

Eric is spraying each panel with a slightly different shade of paint.. This gives us a few different color options to think about.

As you can see here, the panel on the left has a gold hue and the panel on the right has more of a silver/white hue to it.

After spraying a light coat of red over the panels its time to remove the tape and see how they turned out!

The panel on the left has a redish gold hue to the flames, and the panel on the right has a lighter almost purple tint to the flame pattern.

When we hold the panels in the sunlight, the flames on the left (with the gold pearl) really look great.. The panel on the right (with the silver/white pearl) also look great, but they're almost a little too light.. Right now I'm kind of leaning more towards the darker red flame colors..

Eric said that if he has time this weekend, he'll try and paint a panel for us which has a little of both colors in it.. the flames will start out dark and then eventually fade into the lighter color. I'm excited to see what he comes up with!

Friday, September 3, 2010

Logan approved!

Here's Logan checking out the truck.. He says "Yep, I can see myself driving this some day."


"Hurry up and finish this thing Dad! Zach and I wanna go cruis'n!"